
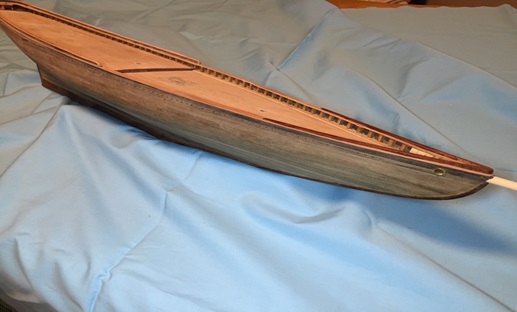
 MODELSHIPWAYの1/64のBlueNoseです
【船尾(スターン)と手摺の製作】
The production of the stern (Sterne) and the rail
前回#8(8月1日)の続報です。
米川会員製作
A Build Log The 9th A work of Yonekawa
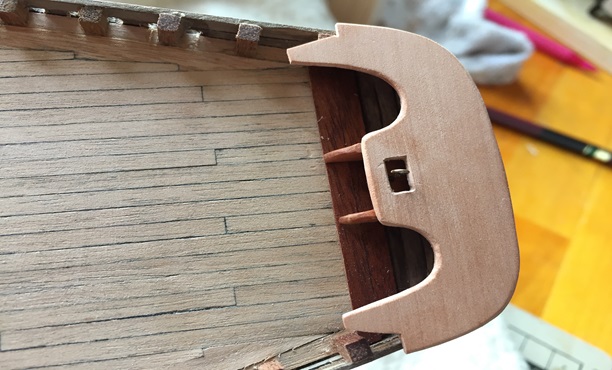
 船尾のフィラー材を極限にまで削り取り、内側に板を貼り手摺を支えるリブを取り付ける
I sharpen filler materials of the stern in an extremity.
I get lib I put a board inward, and to support a rail.
 以前のフィラー材を貼ってある写真
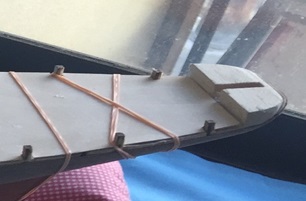
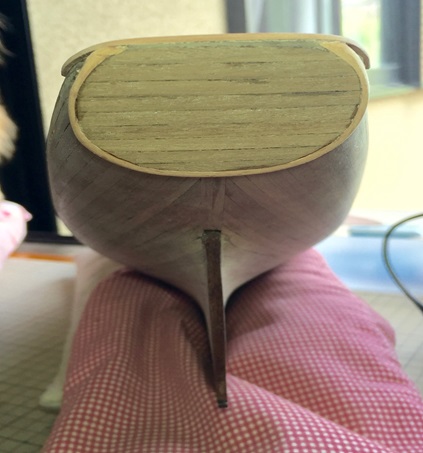
 船尾のてすりの取付
The installation of the rail of the stern
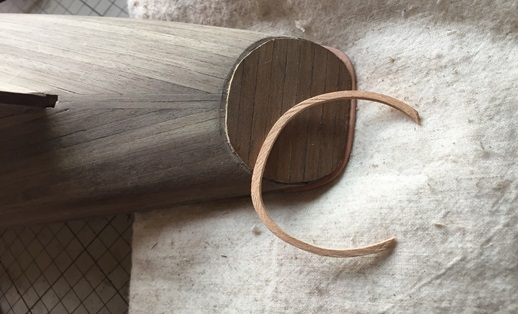
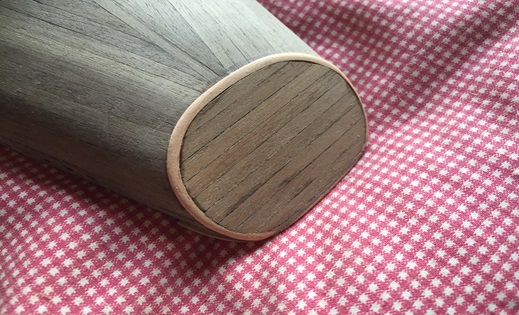
材料はペアウッドのブロックをスライスし型紙に沿って成形したもの
ペアウッドは目が細かく割れにくいように思います
The materials is pair Wood.
I slice a block and mold it along a paper pattern.
I think that Pair Wood is a tight grain and hard ,not crisp.
船尾の化粧板を貼り付けた
I stuck a smoothly planed board of the stern.
 その周りを額縁を取り付けるようにして処理しようと考えた
材料は柔木を用いた、スチームアイロンでたやすく曲がった
I installed a frame, and to handle the rotation.
The materials used a softening wood.
I bent with a steam iron easily
 瞬間接着剤で接着しヤスリとペーパーで仕上げた
I adhered in superglue and finished it with a file and paper
 ペーパー掛けは充分では無いものの変な感じにはならなかった
Sanding is not good but look nice.
 船首部分も同じくペアウッドのスライスを整形し貼り付ける
I had orthopedic treatment and stuck the materials that the bow part sliced pair Wood in the same way.
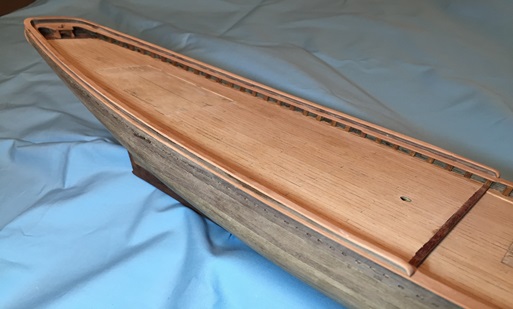
 両サイドの手摺も貼付け
The rail of both sides is pasting up, too
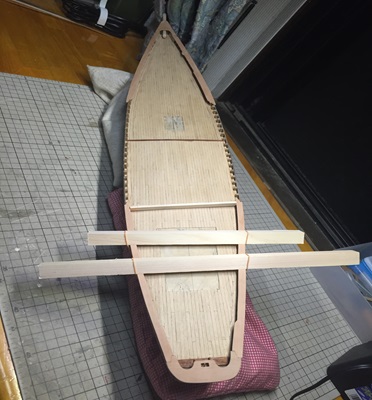
 一応全周貼り終えた、まあまあの出来か
I have finished putting all laps for the time being.
The pretty good result.
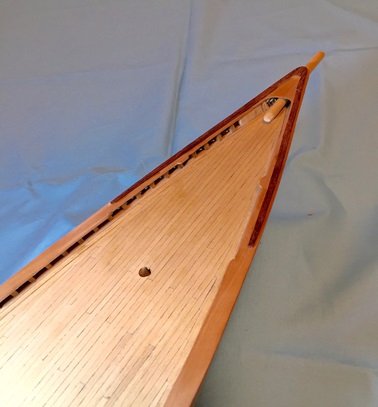
船首部分の飾りの手摺はパオロッサで色違いにし
引き締まった感じにしたが、さあ、どうですか?
I make it different colors in paorossa, and the rail of the decoration for the bow section did it in a compact feeling.
How do you like that?
この船は後部の手摺は2段になっているので注意深く貼付け
特に中央のR形状にしてピッタシに合わすのが難しかった
As for this ship, the rear handrail becomes two steps.
When I made pasting up, I worked carefully.
It was difficult that I made it particularly central R shape and could put it together neatly.
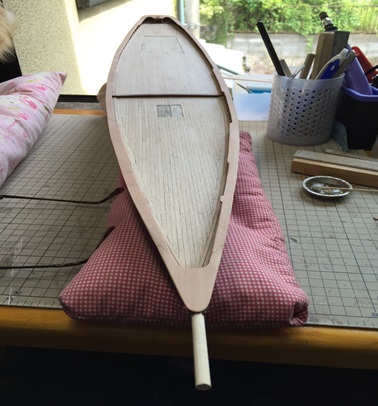
ようやく船体の形らしくなってきた
It seems to have become finally the form of the hull.
Die Produktion vom Strengen (Sterne) und dem Geländer
Ich schärfe Spachtelmassenmaterialien vom strengen in einem äußersten Ende.
Ich bekomme Bewegung, die ich innerlich einen Ausschuß setzte, und ein Geländer zu unterstützen.
Die Installation des Geländers vom strengen
Die Materialien sind Paarholz.
Ich schneide in Scheiben einen Block und forme es an einem Papiermuster.
Ich glaube, daß Pair Wood ein dichtes Korn ist, und schwer, nicht knusprig.
Ich steckte einen glatt eingeebneten Ausschuß vom strengen
Ich beabsichtigte, ich installierte einen Rahmen, und mit der Drehung fertigzuwerden.
Die Materialien benutzten ein weiches Holz.
Ich beugte mich leicht mit einem Dampfeisen
Ich haftete in superglue und beendete es mit einer Akte und einem Papier
Schmirgelnd ist nicht gut, aber Guter.
Ich hatte orthopädische Behandlung und steckte die Materialien, die der Bogenteil in Scheiben Paarholz in die gleiche Weise schnitt
Das Geländer beider Seiten fügt auch aufwärts ein
Ich habe aufgehört, vorläufig alle Schöße zu setzen.
Das ganz Gutes resultiert
Mache ich es in paorossa zu anderen Farben, und das Geländer der Dekoration für den Bogenteil machte es in einem kompakten Gefühl, aber wie über saa?
Wie mögen Sie das?
Wie für dieses Schiff wird das hinter Geländer zwei Schritte.
Als ich das Einfügen aufwärts machte, arbeitete ich vorsichtig.
Es war schwierig, daß ich es zu besonders zentraler R-Form machte und es ordentlich zusammensetzen konnte
Es scheint schließlich die Form des Rumpfes geworden zu sein